Form setup
Your web form is quickly and easily set up for shipment submission via form.taxi. All you need to do is register your form with form.taxi and adapt the HTML source code of your form for linking.
Example form
Here, you can see the HTML code of a sample form. The FORM_CODE in the send address is to be replaced with the individual code of your form. You will receive this code when your form has been registered with us.
<form action="https://form.taxi/s/FORM_CODE" method="POST">
    <input type="text" name="Name">
    <input type="email" name="Email">
    <textarea name="Message"></textarea>
    <input type="submit" value="Send">
</form>
The setup of a form
1. Register form
For form.taxi to know your form, it must be created in the administration panel of your user account. If you do not have a user account yet, start by registering your account. You can register a new form at any time in the Forms section of your administration panel.
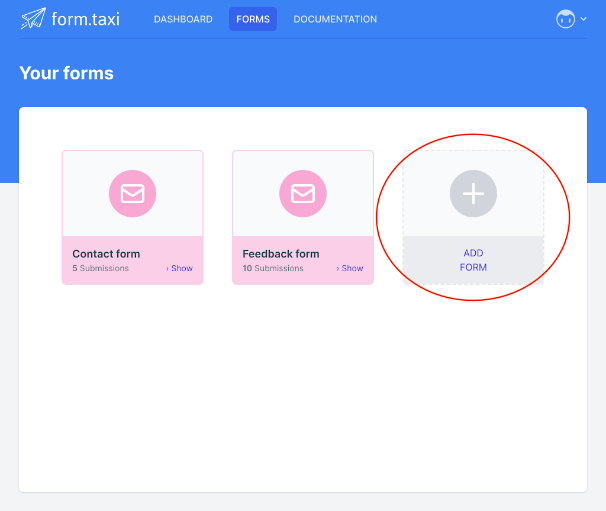
Follow the steps to create the form. You can make further settings and adjustments in the form settings.
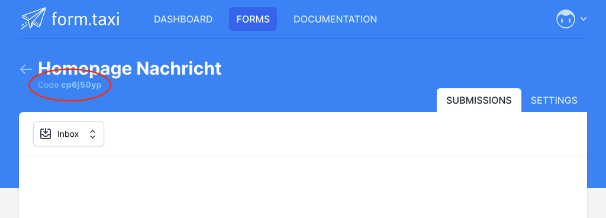
The code of your created form can be viewed in the panel on the form page at any time.
2. Connect form with form.taxi
Set the action attribute of your HTML form to our service address and complete it with the form code. In the following example, FORM_CODE must be replaced with the individual code of your form. Please ensure that you use POST as your form method.
action="https://form.taxi/s/FORM_CODE" method="POST"3. Create fields
In your HTML form, create all the fields you want (such as input, select, and textarea) and ensure that all fields have the name attribute. The value at the name attribute is required and will be used as the field name during submission.
<input type="text" name="Your name">With this, your form is set up, and the capturing of submissions with form.taxi is ready to use!
Adjust the settings of your form to your needs and requirements! You can find information about this under: